
WordPress
WooCommerce is an open-source e-commerce plugin for WordPress. It is designed for small to large-sized online merchants using WordPress. Launched on September 27, 2011, the plugin quickly became popular for its simplicity to install and customize and for the market position of the base product as freeware.
Generating API Keys
Objective
To perform any request on Valor virtual terminal, one should have the following credentials:
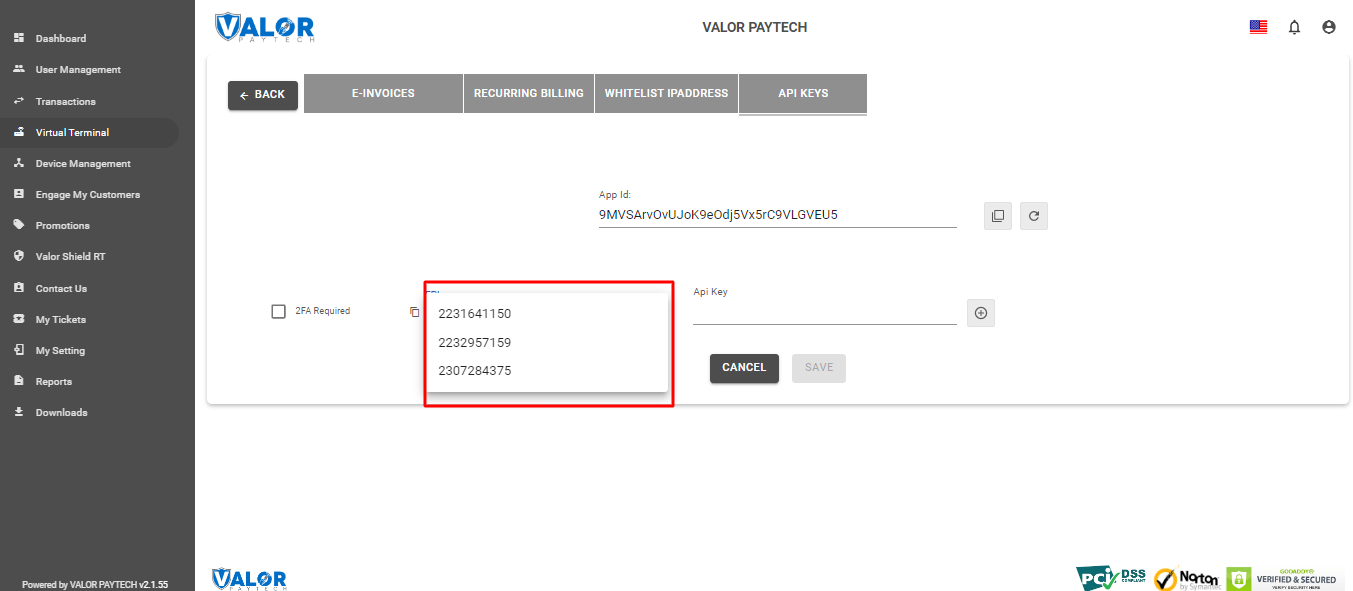
APP ID
- API ID represents the merchant API; A merchant can create an API ID using the Valor portal
APP KEY
- APP KEY represents the EPI of the merchant, technically a merchant can have only one API ID but based on the count of the API KEY, a merchant can have several API KEYS
- Merchant can create their own API KEY using the Valor portal
EPI
- Basically EPI is an end point identifier, Identify the device on valor infrastructure, any devices including virtual terminal will be identified as an EPI, typically it's a 10 digit number starts with 2
STEPS TO CREATE APP ID AND APP KEY
STEP 1 - Log Into The Valor Portal

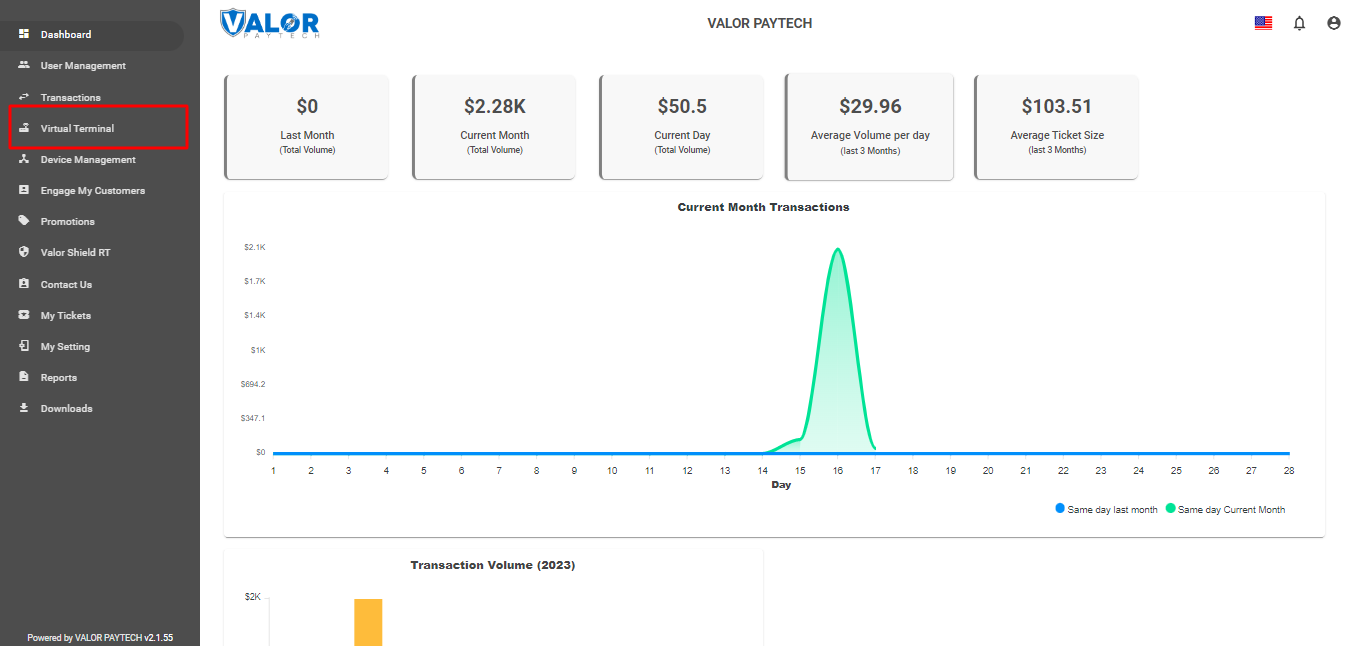
STEP 2 - Click Virtual Terminal in menu
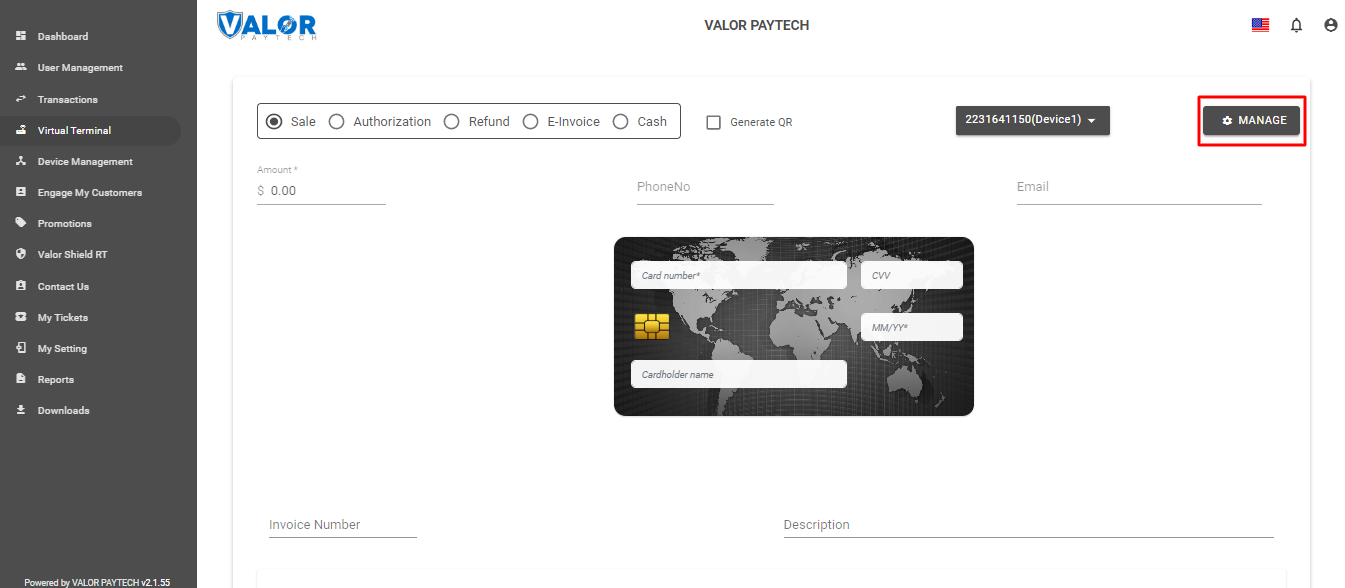
STEP 3 - Click Manage Button
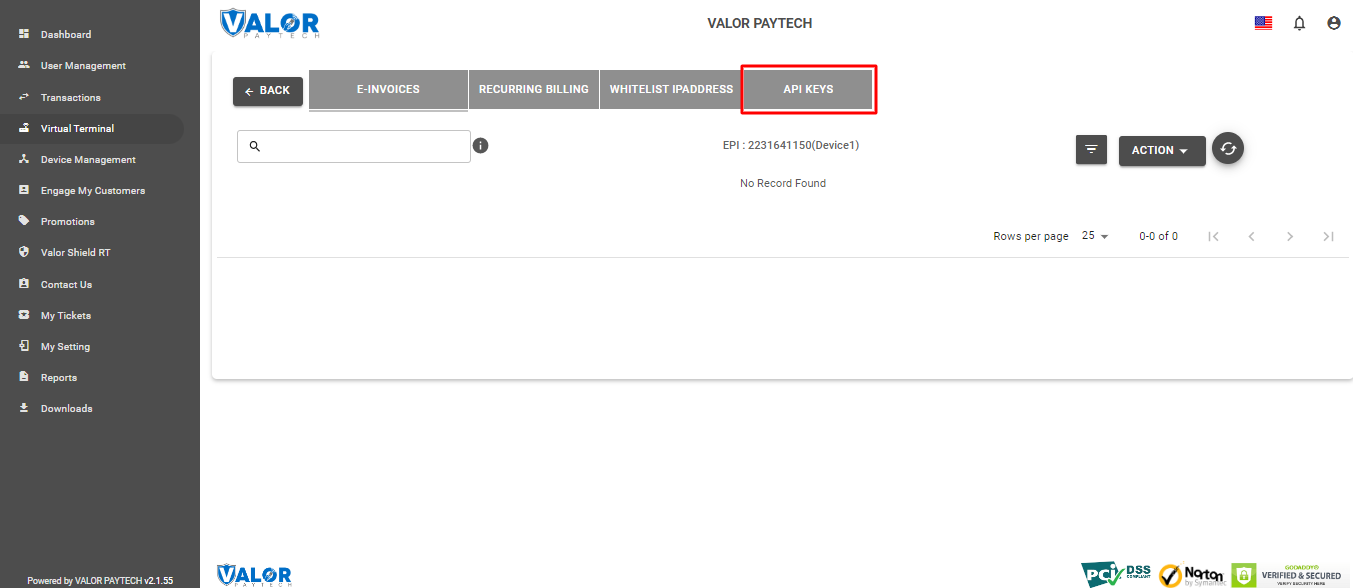
STEP 4 - Select API KEYS Tab
STEP 5 - Here you need to select the EPI to generate API Key.
STEP 6 - Enter these keys to the settings tab of the ValorPay application, choose your settings and click ‘Submit’.
Once you installed Wordpress plugin use this credentials in the payment gateway configuration.
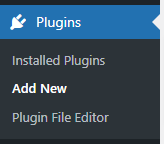
Install a Plugin Using WordPress Plugin Search
- Log in to your WordPress dashboard by going to your website's domain followed by "/wp-admin". For example, "www.yourwebsite.com/wp-admin".
- From the left-hand menu, click on "Plugins" and then click on Add New.
- In the search bar at the top-right corner, type in the name plugin “valor pay”.
- Browse through the search results to find the Valor Pay you want to install. You can click on the More Details button to learn more about the plugin, including its features and compatibility.
- Click on the Install Now button next to the plugin you want to install.
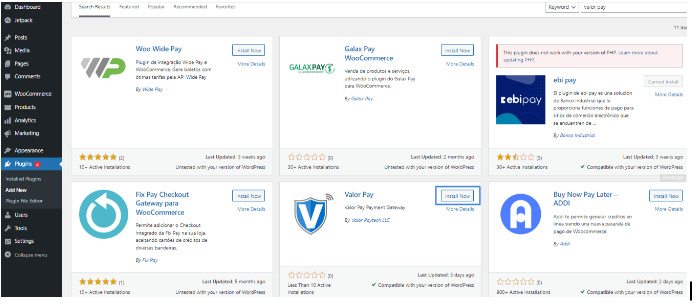
- Wait for the installation process to finish. It usually takes a few seconds.
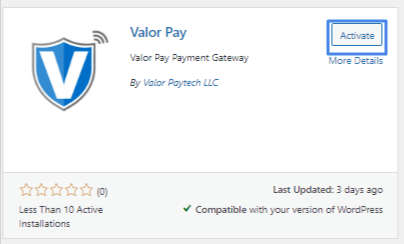
- Once the installation is complete, click on the Activate button to activate the plugin.
- In the Installed Plugin you can find the Valor Pay plugin.
To Manually Add a Plugin to Your WordPress Website
Once you have downloaded the plugin form Valor Pay Plugin . There are two methods to install a plugin in Wordpress, one using WordPress Admin Plugin Upload and another using FTP client.
Upload From Admin
- Once you logged into your wordpress admin, Go to Plugins > Add New
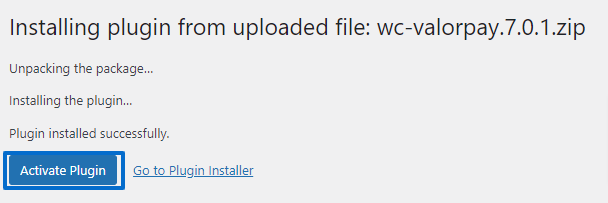
- Then click Upload Plugin and Choose File, Upload the plugin zip downloaded from the Wordpress plugin Marketplace.
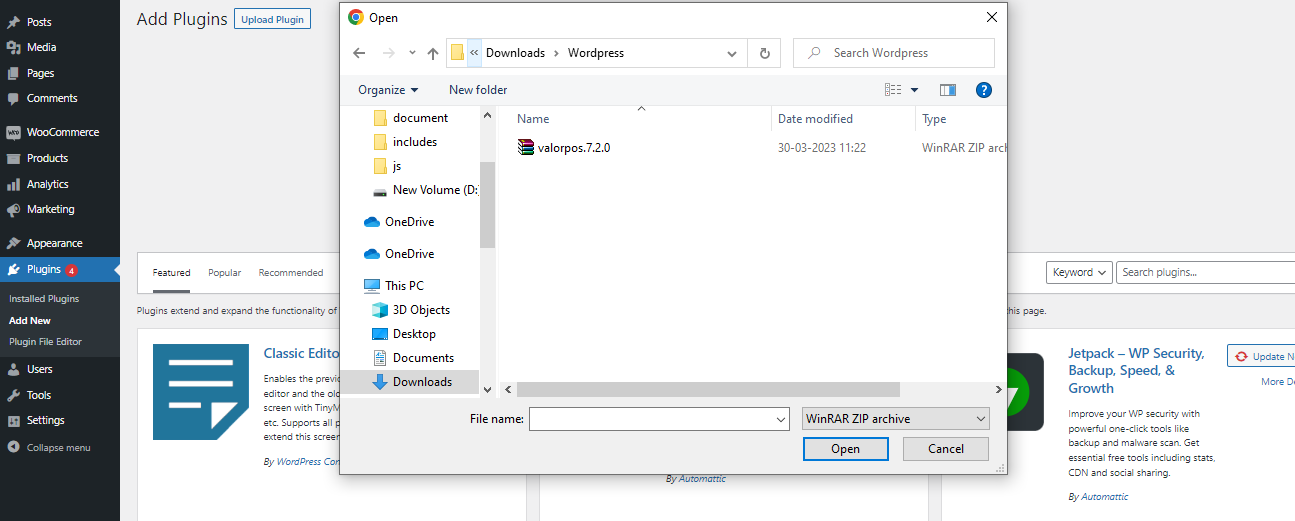
- Once file uploaded click Install Now and Activate Plugin
Upload From FTP
- Go to your wordpress root directory /wp-content/plugins
- Upload the unzip Valor Pay plugin folder.
- To activate the plugin go to wordpress admin panel Plugins > Installed Plugins and click Activate.

Plugin Configuration
To configure the Valor Pay plugin use any one of the below options.
- To configure the Valor Pay plugin go to Settings from the plugin link

- Or go to Woocommerce > Settings > “Payments” tab > Valor Pay
Here you need to configure the APP ID, APP KEY and EPI. Refer to the Generating API Keys section to get APP ID, APP KEY and EPI from the valor portal.

Surcharge Mode
Enable only if you want all transactions to fall on surcharge mode, Merchant must have got an Surcharge MID inorder to work.
Address Verification System (AVS)
The AVS configuration should be matched with the portal AVS configuration in your Device Management. Allowed options are None, Zip Only, Address Only and Zip & Address. Based on the payment method configuration Zip and address fields are displayed in the checkout page.
Payment Failed Tracker
To block Valor Pay payment method after a specific number of failed transactions. We use the Payment Failed Tracker. In the Decline Transaction Count we have a number of failed payment counts and in the Block Payment For we set the time to block the payment method.
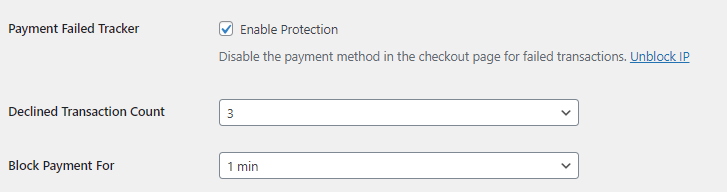
You can also manually unblock an IP by deleting the IP from the list. You can find the Blocked IPs list at the end of the Valor Pay settings page or Click the Unblock IP link below the Payment Failed Tracker to scroll down to the payment failed tracker.

Valor Payment Method - Frontend
Once the ValorPay Enabled and Configured we can view the payment Gateway in the checkout page. To process transactions we need to enter the Card information.
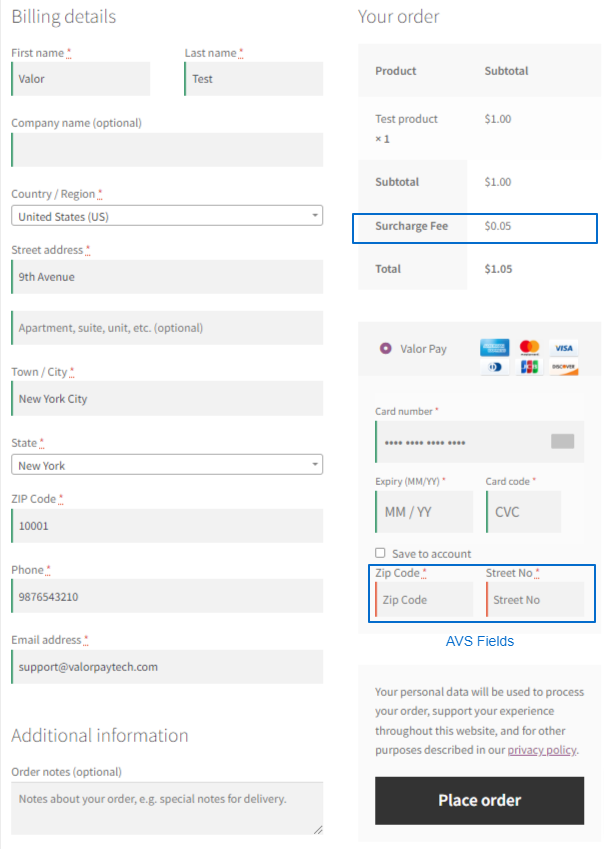
Based on the Surcharge configurations fee is displayed in the frontend checkout page.
Refund Using Valor Pay
Follow below steps to refund an order.
- Login into Wordpress Admin.
- In admin menu select Woocommerce > Orders and select the order which you want to
refund. - Click the refund button in the left below corner of the order items section.
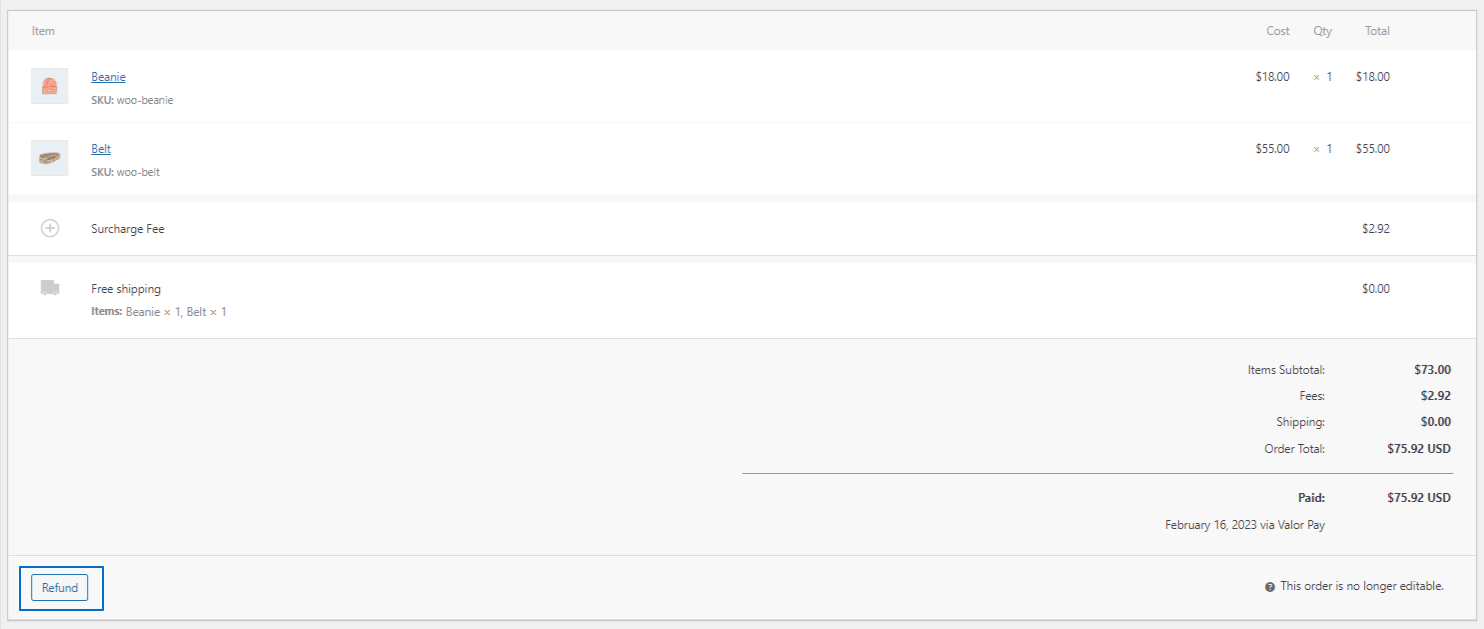
- Enter the Refund Amount or use the Qty to refund a specific amount of item.
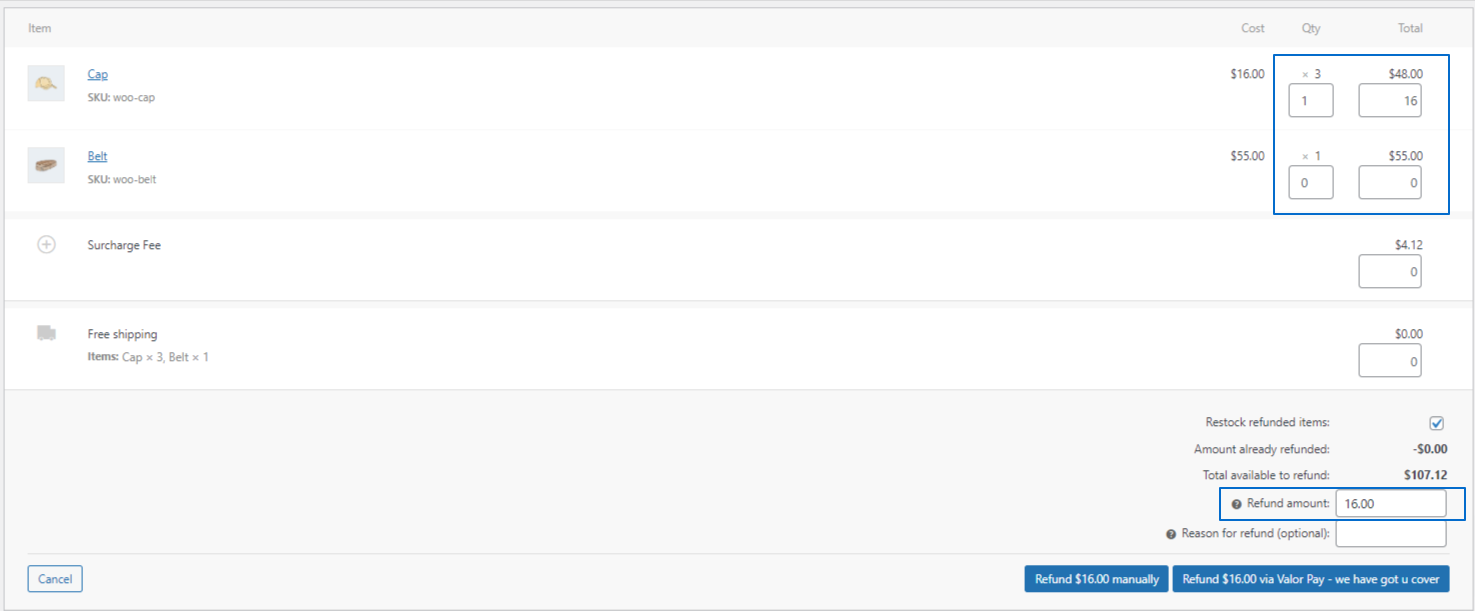
- Then Click the Refund via Valor Pay and it will show you a popup to enter the OTP for refund. Note: OTP sent to merchant email and phone number.
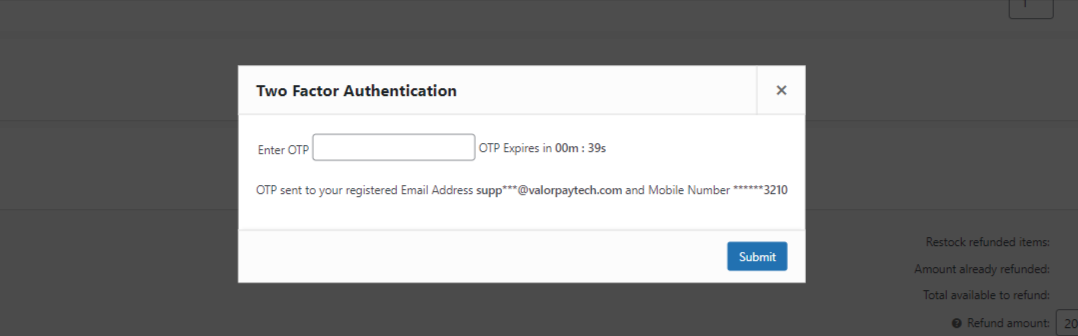
- Once the OTP entered and submitted, based on the response Success or Failure message is shown.
Adding Custom Information to ValorPay Order Invoice Number and Description
We have introduced a new hook in our custom payment plugin to allow the addition of custom information to the ValorPay order invoice number and description. The hook name is wc_valorpay_order_invoice_description and it has 2 args
- additional_data - an empty array where custom data can be added.
- $order - the order object.
Sample function implementation
/**
- Adds additional information to Valorpay order data.
-
- @param array $additional_data The additional data array for Valorpay.
- @param WC_Order $order The WooCommerce order object.
- @return array The updated
$additional_dataarray with invoice and company information.
*/
function add_additional_info_to_valorpay($additional_data, $order) {
$additional_data['invoice_no'] = 'INV001';
$additional_data['order_description'] = 'Product 1';
return $additional_data;
}
add_filter('wc_valorpay_order_invoice_description', 'add_additional_info_to_valorpay', 10, 2);
Modify the Terms and Conditions
To modify the default text of the Terms and Conditions label, you can add a custom filter in your WordPress theme or plugin.
Sample Function Implementation:
add_filter('valorpay_terms_label', 'update_terms_text');
function update_terms_text() {
return 'My new Terms and Conditions'; // Replace with your desired text
}
This code snippet hooks into the valorpay_terms_label filter and updates the label text to the custom message specified in the update_terms_text function.
Replace 'My new Terms and Conditions' with the text you want to display.